Replacing a tractor clutch is a mechanical task that requires precision and attention to detail. The specific steps can vary depending on the make and model of the tractor, so it’s essential to consult the tractor’s service manual for accurate instructions. Here is a general guide that outlines the typical steps involved in replacing a tractor clutch:
Tools and Equipment Needed
Service manual for the tractor
Wrenches
Socket set
Screwdrivers
Pry bar
Jack and jack stands
Clutch alignment tool
Torque wrench
Replacement clutch kit
Tractor Clutch Replacement Steps
Consult the Service Manual
- Review the tractor’s service manual for specific instructions and specifications related to the clutch replacement. The manual will provide information on the type of clutch used, torque specifications, and any special instructions.
Safety Precautions
- Ensure the tractor is on a level surface and engage the parking brake.
- Disconnect the battery to prevent any electrical issues during the replacement.
Remove External Components
- Remove any covers, guards, or other components that may be obstructing access to the clutch assembly.
Drain Fluids (if required)
- If the tractor has a hydraulic clutch, you may need to drain the hydraulic fluid according to the manufacturer’s guidelines.
Disconnect Components
- Disconnect the linkage, such as the clutch pedal linkage, hydraulic lines (if applicable), and any electrical connections.
Support the Tractor
- Raise the tractor using a jack and secure it with jack stands to ensure a safe working environment.
Access the Clutch
- Depending on the tractor design, you may need to remove other components or split the tractor in half to access the clutch assembly.
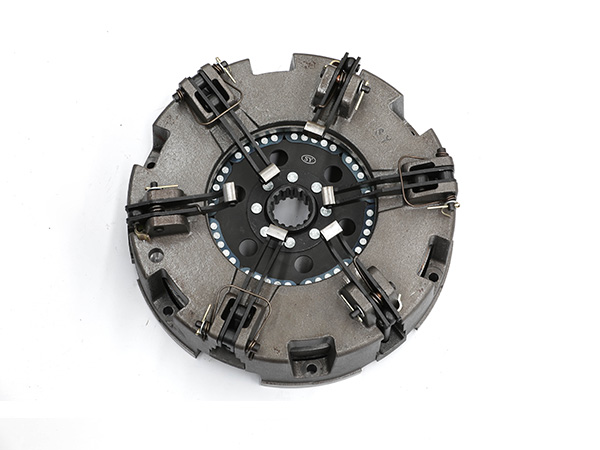
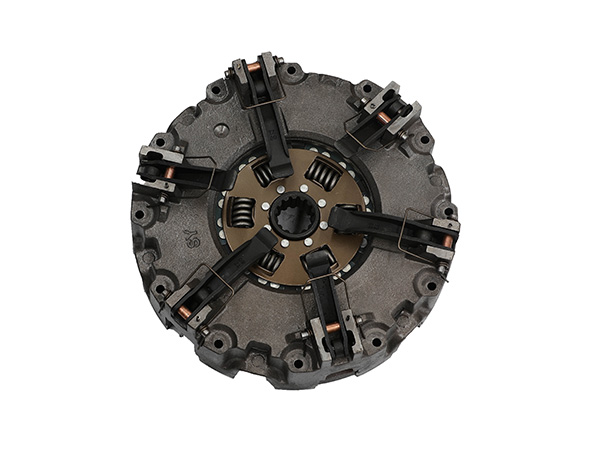
Remove the Old Clutch
- Loosen and remove the bolts securing the clutch housing.
- Carefully remove the old clutch assembly.
- Take note of the alignment marks on the pressure plate and flywheel for proper reinstallation.
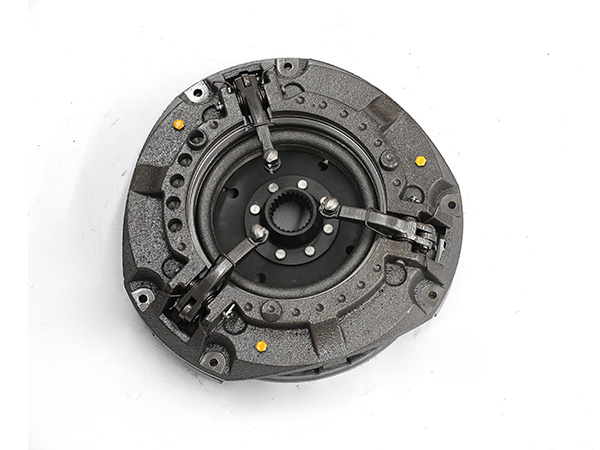
Inspect Components
- Inspect the flywheel, pressure plate, and release bearing for wear or damage. Replace any components that show signs of excessive wear.
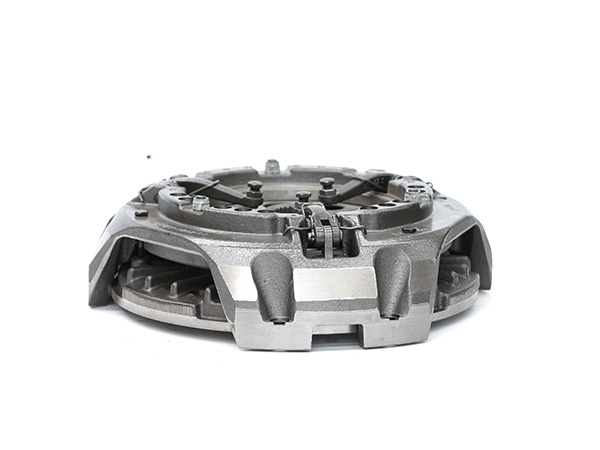
Install the New Clutch
- Use a clutch alignment tool to position the new clutch properly.
- Install the pressure plate and tighten the bolts evenly in a crisscross pattern.
- Ensure the clutch plate is centered using the alignment tool.
Reassembly
- Reassemble the tractor, reconnecting components in the reverse order of removal.
- Refill any fluids that were drained.
Adjustments
- Adjust the clutch linkage, if necessary, to ensure proper engagement and disengagement.
Testing
- Start the tractor and test the clutch for smooth engagement and disengagement.
- Drive the tractor in a safe area to verify that the clutch is functioning correctly.
Torque Specifications
- Tighten all bolts to the specified torque values as per the service manual.
Final Checks
- Double-check all connections, fluid levels, and adjustments.
- Ensure there are no unusual noises or issues during operation.
Always refer to the specific service manual for your tractor to ensure accurate instructions for your particular make and model. If you are not comfortable or experienced with this type of repair, it’s advisable to seek assistance from a professional mechanic.
More on tractor clutch replacement:
How much does a tractor clutch replacement cost and how to replace it?
How Much Does a Tractor Clutch Replacement Cost?
Precautions for the replacement of tractor clutch friction discs

