Replacing the clutch disc on a tractor is a procedure that involves disassembling a portion of the tractor’s transmission system. Here’s a general guide on how to replace a tractor clutch disc. Keep in mind that the specific steps may vary depending on the make and model of your tractor, so it’s essential to consult the tractor’s service manual for detailed instructions tailored to your equipment.
Note: This is a general guide and may not cover all variations. Always refer to the specific tractor model’s service manual for accurate instructions.
Required Tools and Materials:
• Wrenches and sockets
• Jack and jack stands
• Clutch alignment tool
• Torque wrench
• Screwdrivers
• Pry bar
• Safety equipment (gloves, safety glasses)
Safety First
• Ensure that the tractor is on a flat and stable surface.
• Disconnect the battery to prevent any accidental starting.
Raise the Tractor
• Use a jack to lift the tractor and support it securely with jack stands.
Access the Clutch
• Remove any components that obstruct access to the clutch, such as the inspection plate.
Disconnect Components
• Disconnect the linkage between the clutch pedal and the clutch release mechanism. This may involve removing pins, clips, or bolts.
Remove the Transmission
• Depending on the tractor’s design, you may need to remove the transmission to access the clutch assembly. This can involve removing bolts securing the transmission housing.
Remove the Pressure Plate
• Loosen and remove the bolts securing the pressure plate to the flywheel. It’s advisable to loosen the bolts gradually and in a crisscross pattern to release pressure evenly.
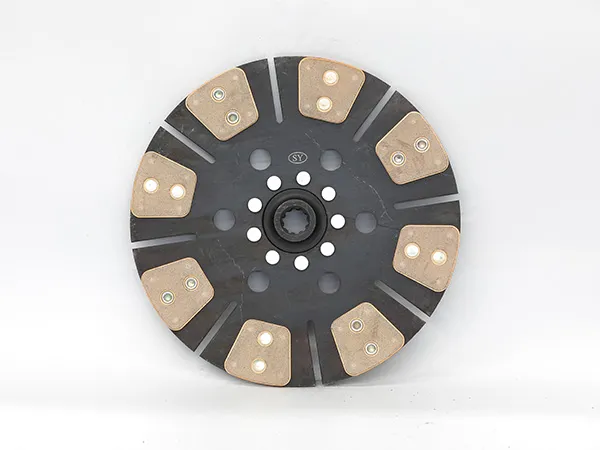
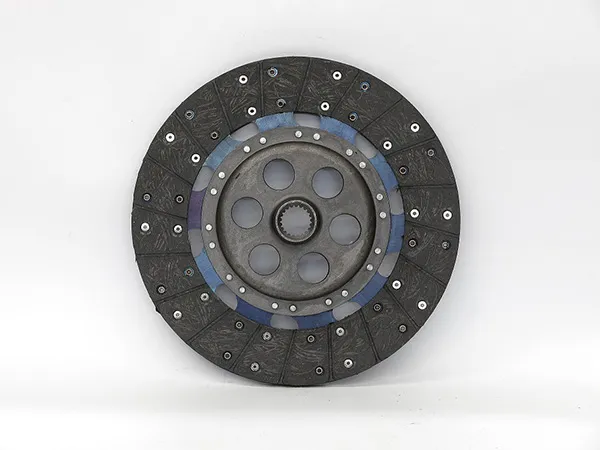
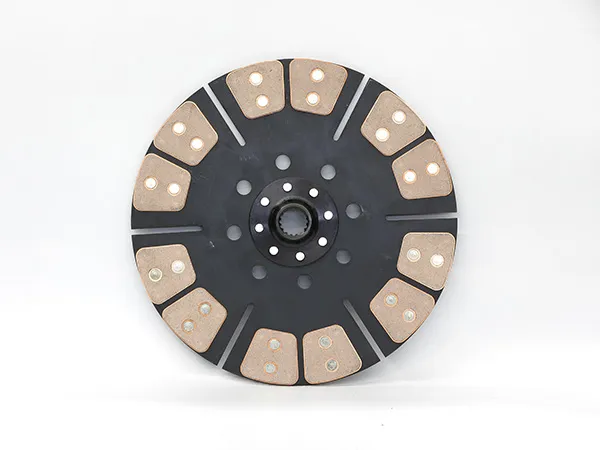
Remove the Old Clutch Disc
Slide the old clutch disc off the transmission input shaft. Note its orientation for proper installation of the new disc.
Inspect Components
• Take the opportunity to inspect the pressure plate, release bearing, and flywheel for wear. Replace any components showing signs of excessive wear or damage.
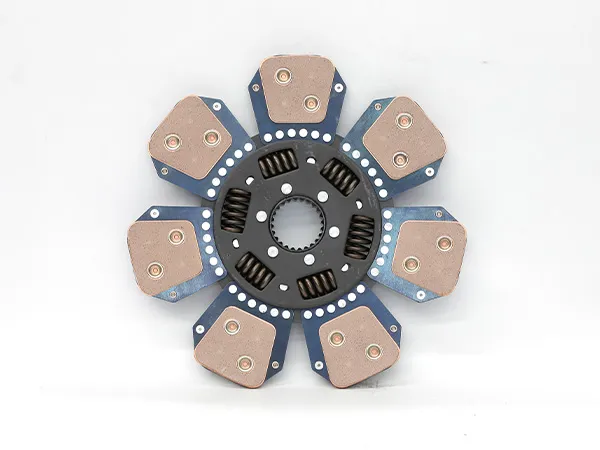
Install the New Clutch Disc
• Slide the new clutch disc onto the transmission input shaft, ensuring it aligns correctly. Use a clutch alignment tool to center the disc.
Install the Pressure Plate
• Place the pressure plate over the clutch disc and align it with the dowel pins. Tighten the bolts in a crisscross pattern to the specified torque value.
Reassemble Components
• Reconnect the transmission, linkage, and any other components that were removed.
Adjustments
• Adjust the clutch linkage according to the tractor’s service manual. This ensures proper engagement and disengagement of the clutch.
Test the Clutch
• With the tractor safely elevated, start the engine and test the clutch for smooth engagement and disengagement. Check for any unusual noises or issues.
Lower the Tractor
• Carefully lower the tractor back to the ground.
Final Checks
• Double-check all connections, tighten any remaining bolts, and ensure that all components are properly secured.
Always refer to the specific service manual for your tractor model, as procedures can vary. If you’re not comfortable or experienced with this type of mechanical work, it’s advisable to seek assistance from a qualified mechanic or service professional. Additionally, use appropriate safety precautions throughout the process.


